
Nothing says “Would you like some tea with that scone?” like fabric bunting. I love it! “What is bunting?” you might ask! Well, bunting can be traced back to the 17th century and was originally used for making flags and ribbons, including signal flags for the Royal British Navy. Adding bunting to your craft room, backyard get-together, or to add a touch ofthe home-made for a birthday party is easy and fun! It’s also a great way toget use up some of that left-over fabric you have laying around.
Level: Beginner, with basic sewing knowledge
What you will need:
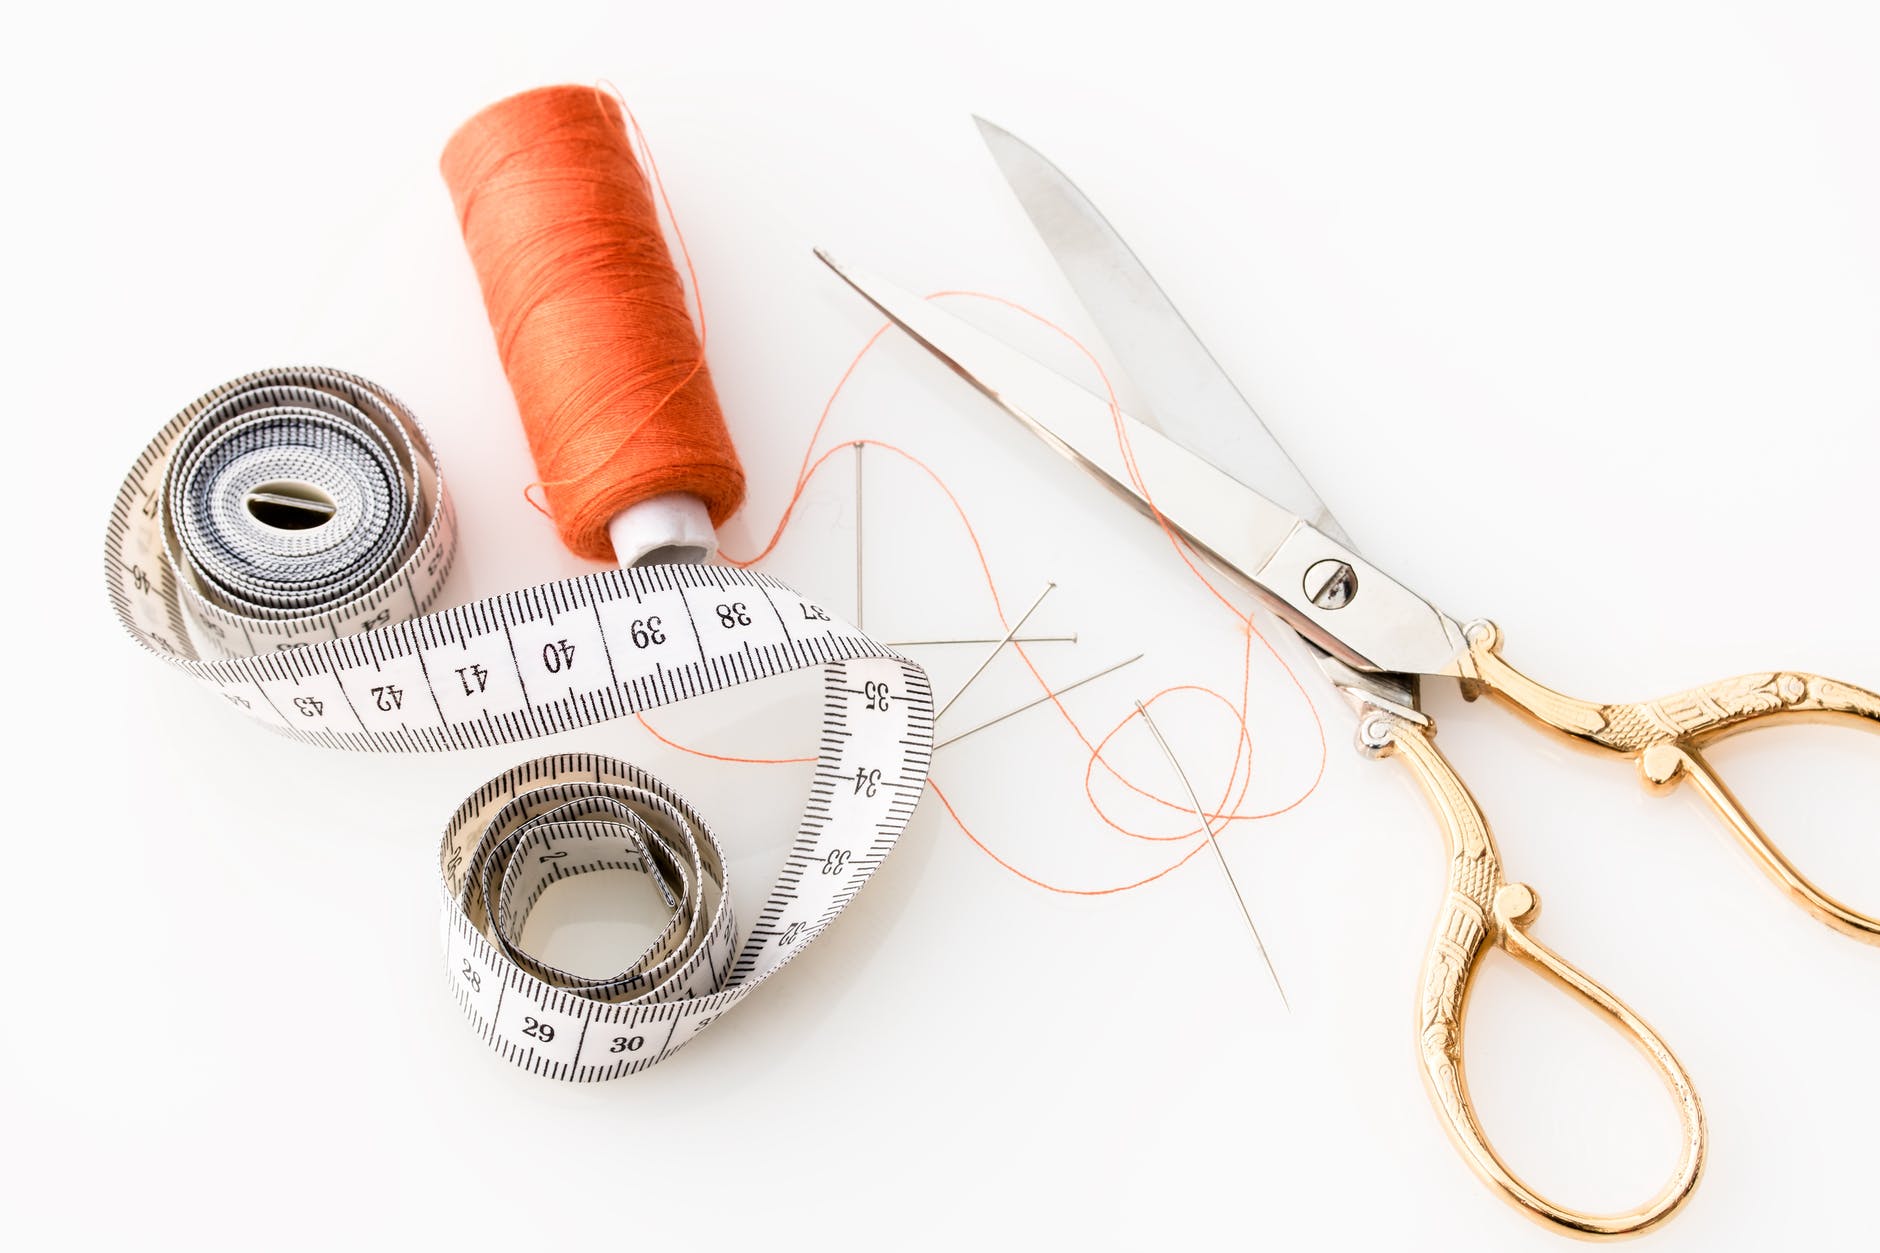
- Sewing supplies: A sewing machine, thread, rotary cutter (you can use scissors, but it goes much faster with a rotary cutter), cutting mat, something to point out your seams with (fabric pointer or a chopstick work well here), scissors, an iron, fabric spray (optional).
- A cardboard/cardstock/plastic template of a triangle measuring approximately 6.5 x 8.5 x 8.5” – you can go larger or smaller, as long as you have an isosceles triangle (two longer sides and one shorter one). I cut mine out from an old cereal box.
- Quilting cotton or linen fabric thatyour triangle can easily fit onto and be cut from (I used a mix of left-overfabric from finished projects) – you will need a back and a front and theydon’t need to match, but be mindful of the fact that if you have a dark fabricpattern on one side and a lighter one on the other it will show through. I donot recommend using a stretchy fabric for this project.
- Extra wide double fold bias tape in either a neutral or co-ordinating colour (you can make your own, but I found buying it much easier).
Steps:
1. Press your fabric and then cut out your fabric using the triangle template. If you have a rotary cutter you will be able to do a few layers at once, but don’t do too many at a time. If you are using fabric scissors you will need to be careful of your layers slipping.

2. Mix and match your fabrics together if you have an assortment to make 13 or 14 pairs that you are happy with.
3. Lay two triangle pieces right sides together. If you are using a patterned fabric, make sure you are happy with the direction the fabric is going in – remember the shorter end of the triangle is the top of the bunting.

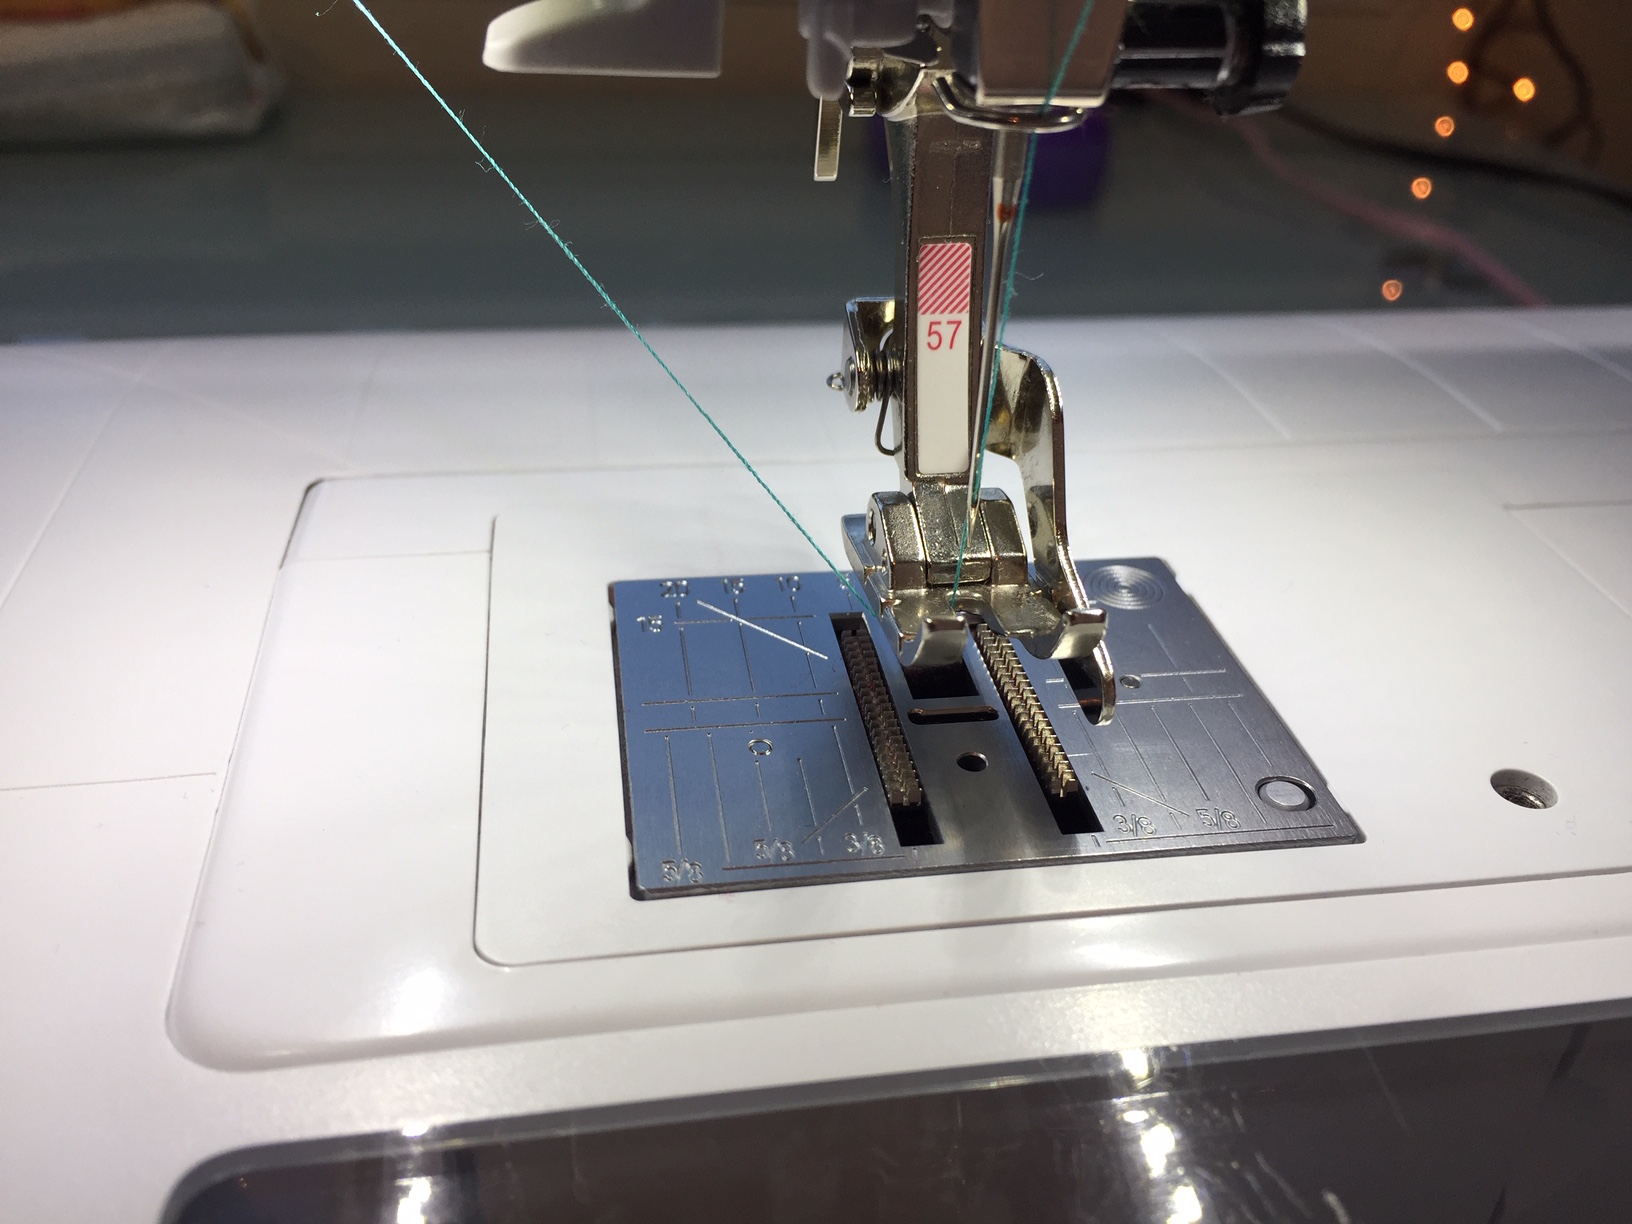
4. Sew along the two long sides using a ¼” seam allowance (DO NOT sew the short side, this needs to stay open). I use my ¼” quilting foot (Bernina #57) on my sewing machine for this, but if you don’t have this type of foot, you can use a piece of coloured tape on the plate part of your machine to help guide you. Pivot at the bottom of the triangle so you get a nice crisp point. Don’t forget to backstitch at the beginning and the end of your triangle.


5. Trim away any excess fabric around the edge of the triangle being careful not to get too close to the stitches.
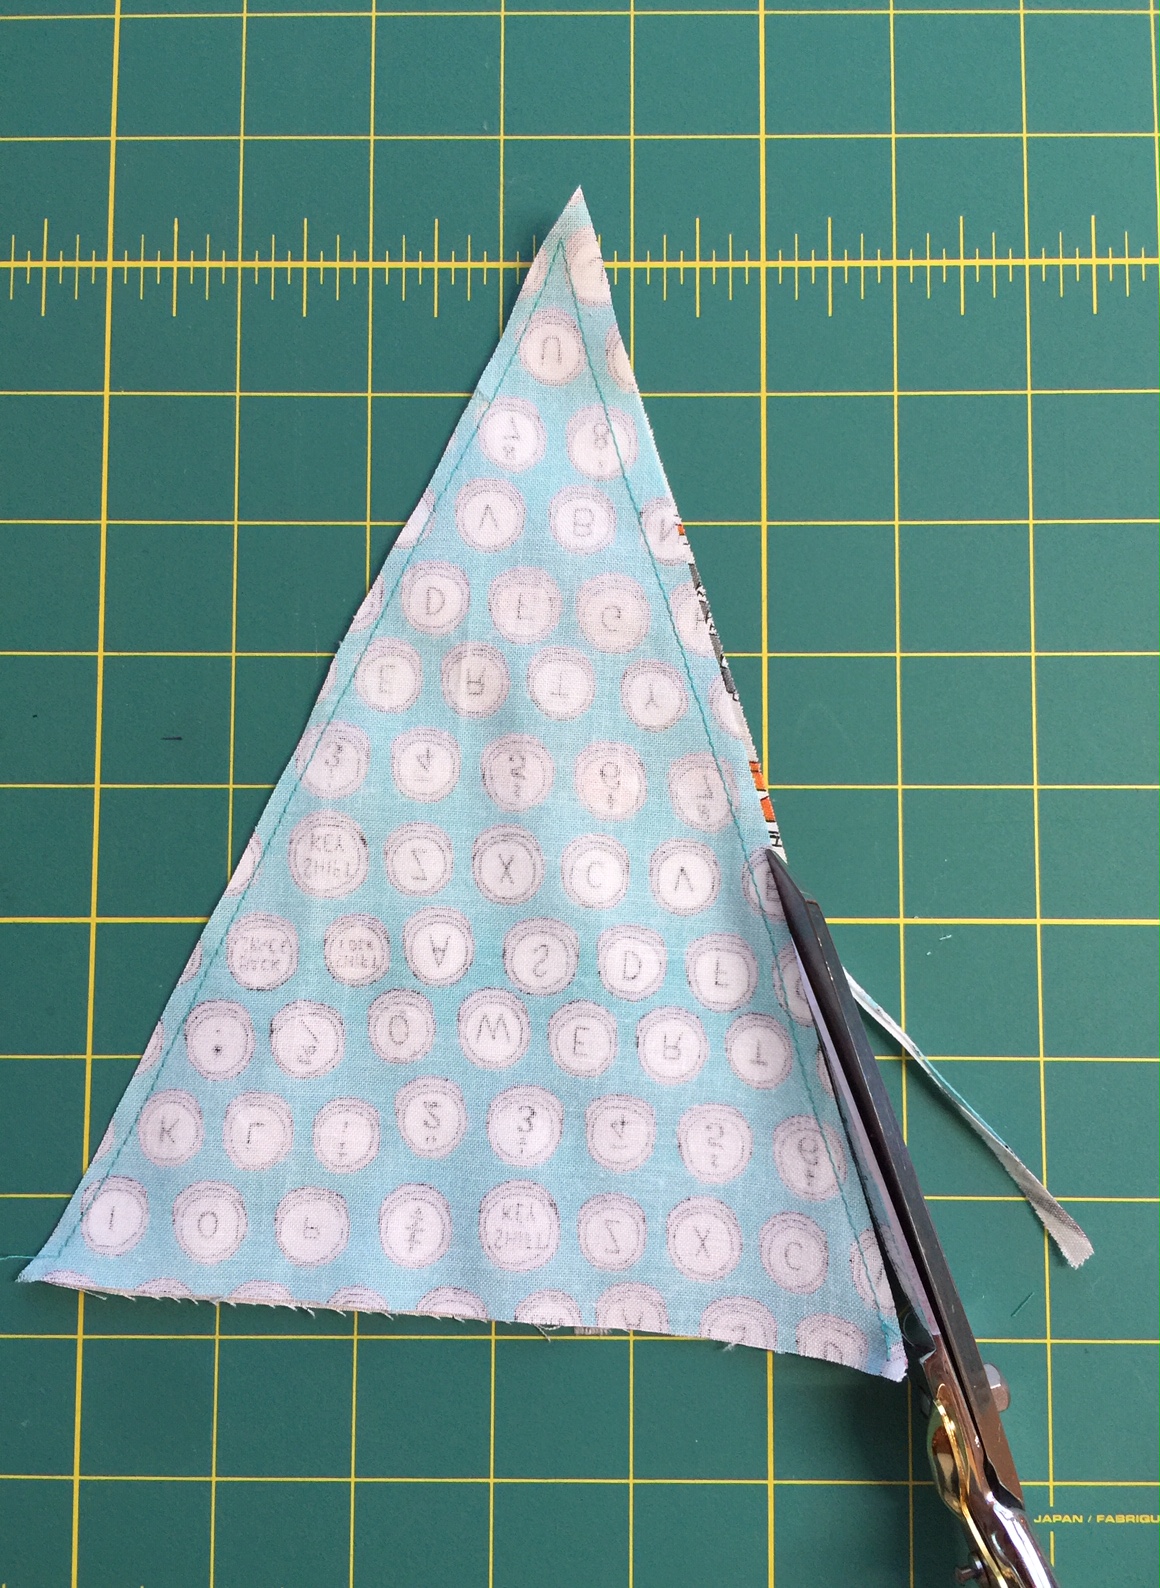
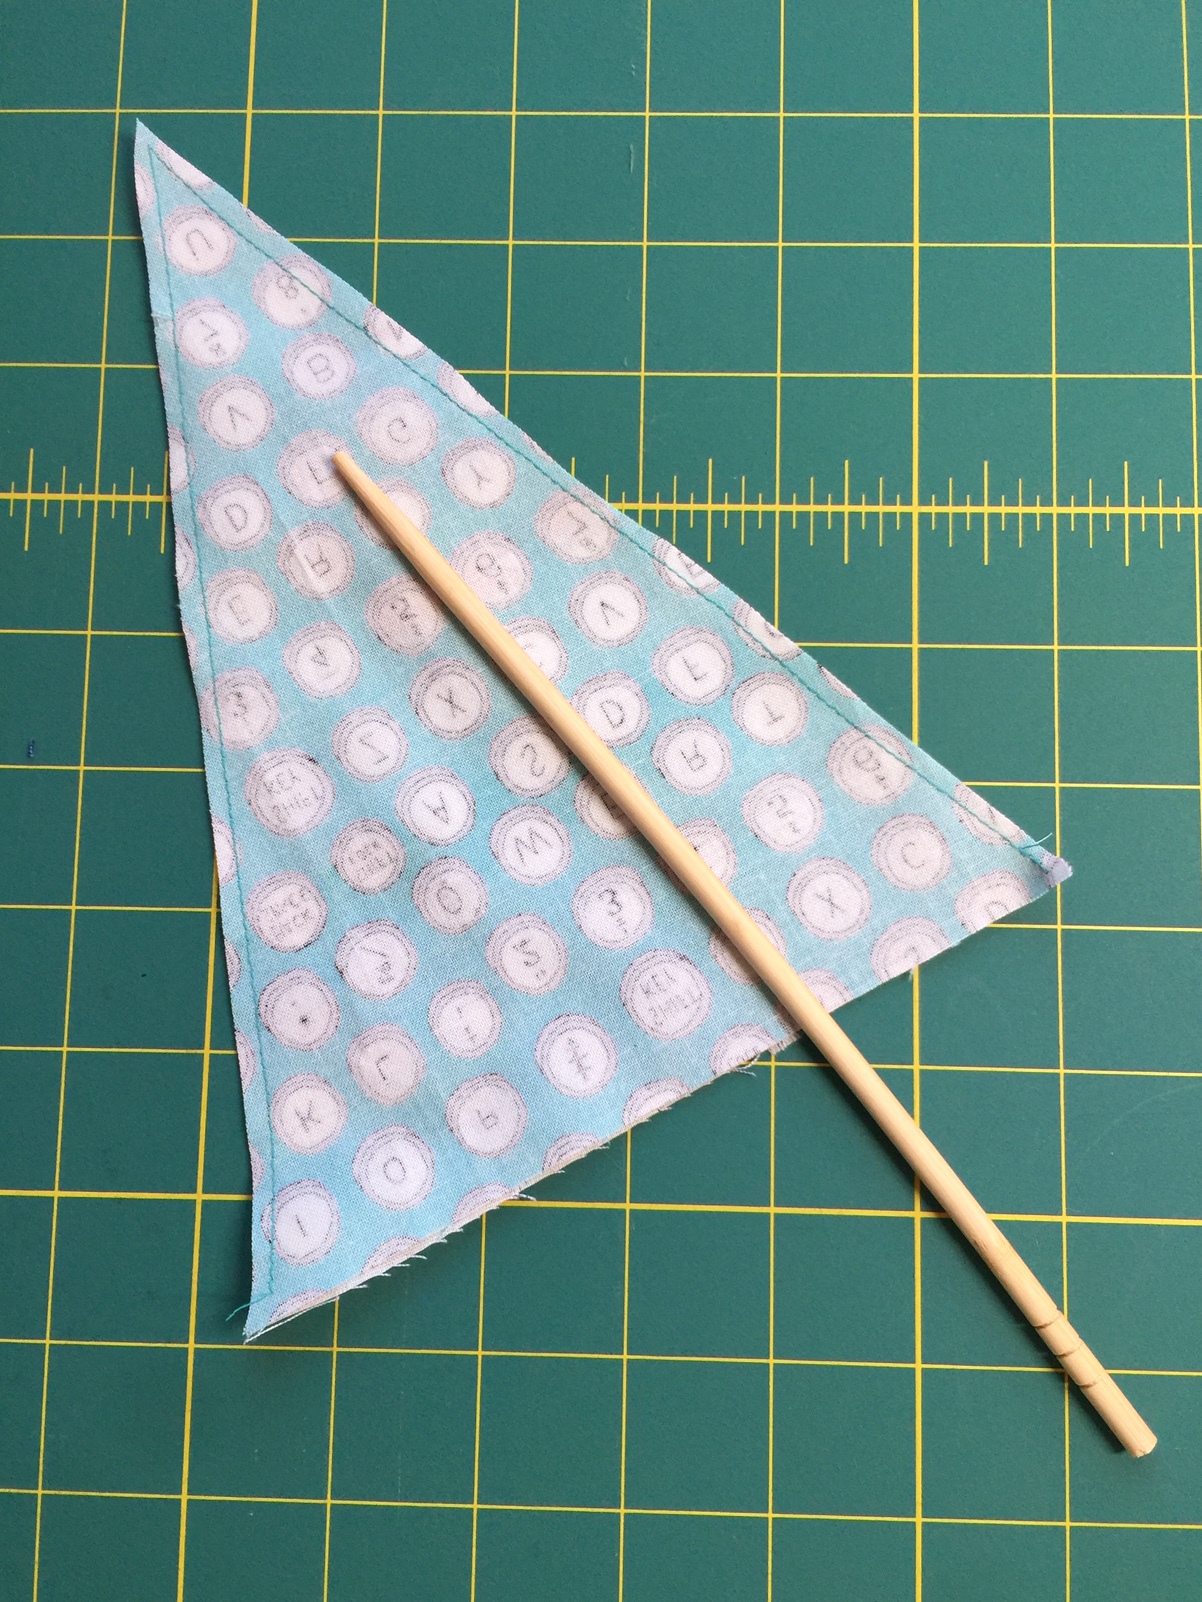
6. Turn the fabric triangle right side out and using a pointed tool (like a chopstick), push out the tip. Be careful not to push too hard and make sure your pointed tool is not too sharp – you don’t want to go through your stitches, you just want a nice neat point. Trim any excess thread. Press the triangle using your iron (steam and fabric spray can be handy here).
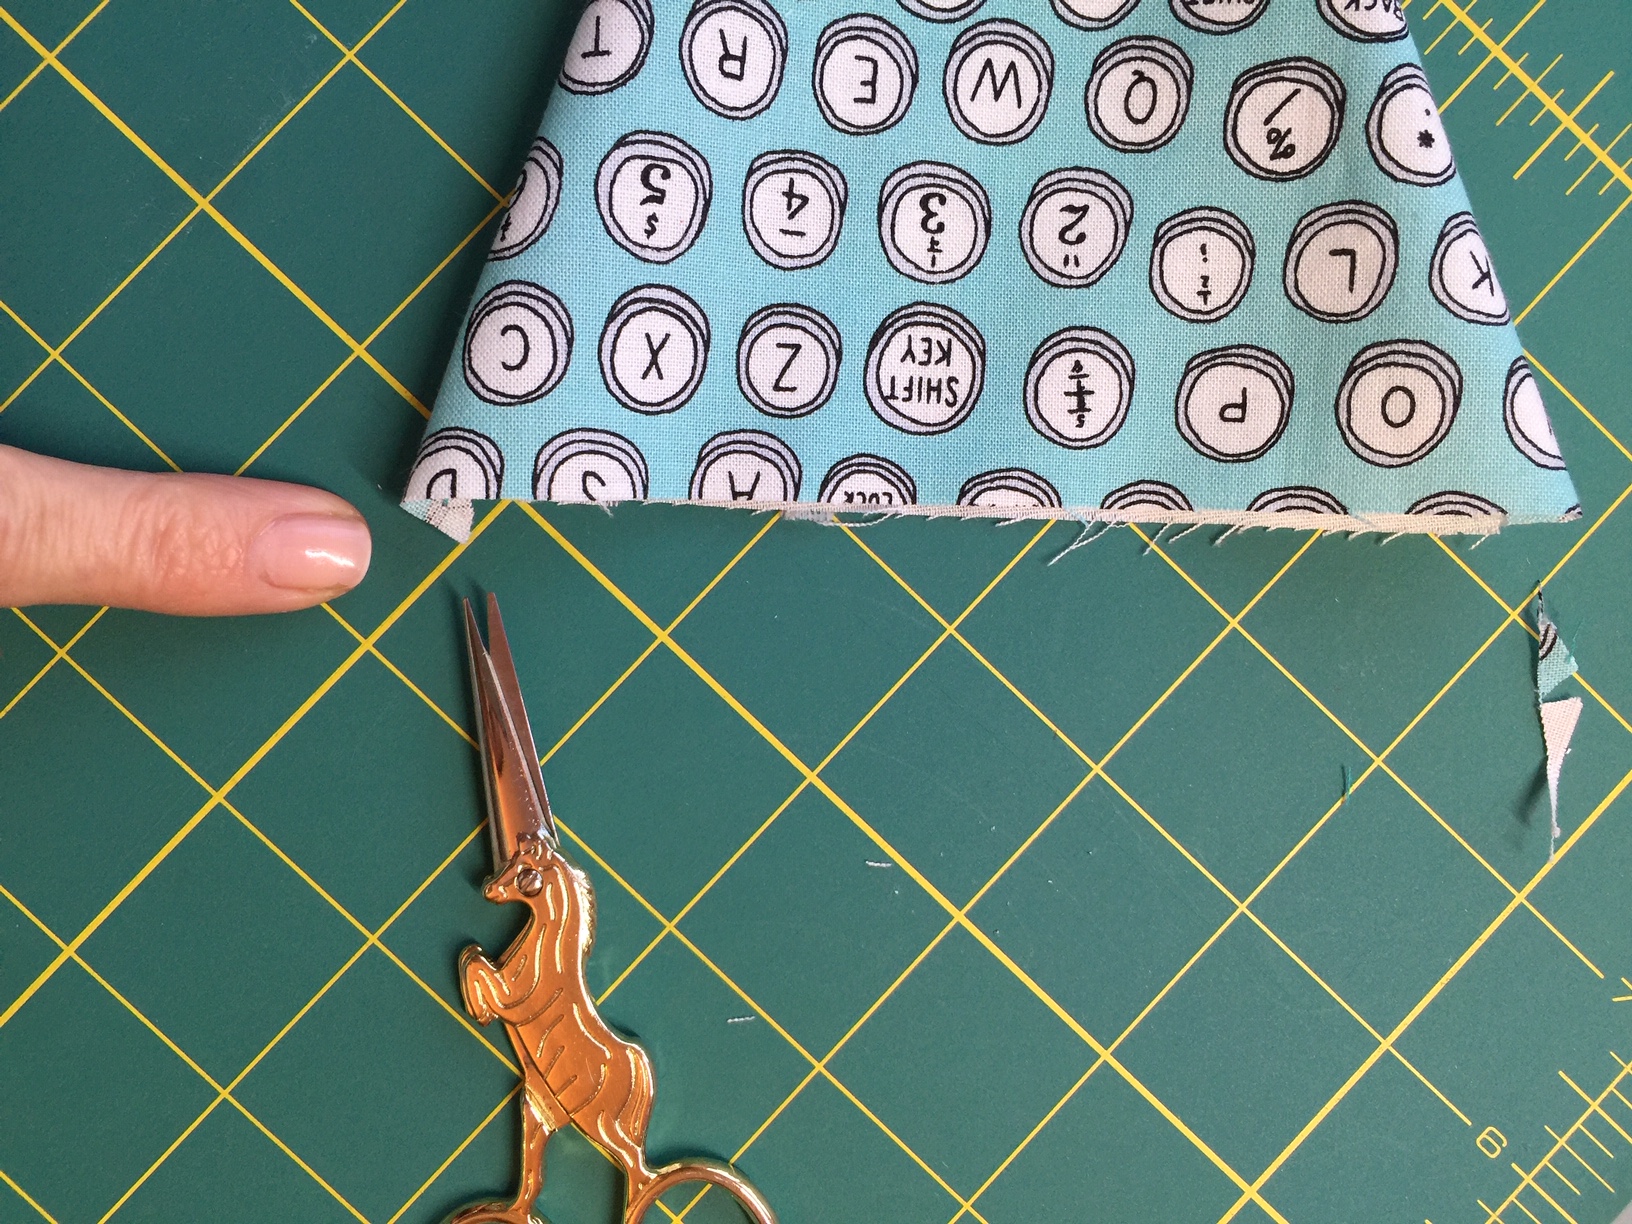
7. Trim away the little bits of fabric that are at the top (that short open end) of the triangle. This will just make it easier for you when you go to sew on your bias tape later.
8. Repeat steps 3-6 for the rest of your triangle fabric pieces until you have enough to line up along your bias tape, leaving 12-15” on each end for you to have tail ends. I lay my finished triangles out on the floor just to make sure I am happy with the layout. I ended up being able to fit 13 across my store-bought bias tape which left me enough room for my tail ends to have small loops at either end to make it easier to hang.
9. Once you are happy with your layout, pin the triangles to the inside of the bias tape fold. You are essentially tucking the unfinished short end up into the fold of the bias tape. Lay one after the other along the tape. Alternatively, you can skip the pinning and just keep adding as you go, but this will depend on your comfort level. Just make sure that you are butting each triangle up to each other, but not overlapping them. If you are pinning, you may need to adjust your triangles a bit if they are starting to overlap.
10. Sew along the first tail end of the bias tape to close the fold up, then continue along to your first triangle, continue to sew along your triangles until you reach the end (this will include your tail end on the actual end of the bunting).
11. Create a small loop out of your tail end by bringing the end in and sewing it to the open part of the tail. This is optional, but looks more finished and allows you to easily hang it.
You are allfinished! Hang your beautiful bunting with pride!

Want to further your creative outlet through bunting? Here are just a few ideas:
Consideradding cut-out felt text to the triangles to spell out words “Happy Birthday”, “Congratulations”,“Welcome Home” etc.
Choose fabricsthat co-ordinate with a child’s bedroom
Choose coloursthat work with a special event or day (Canada Day, Independence Day, ValentinesDay, Mother’s Day, Easter)
Need alonger strand? Attach multiple pieces of bias tape together to get your desiredlength and keep making more triangles! Warning: It may become addictive! But istoo much bunting a bad thing really??
