
Valentine’s Day is just around the corner, and while some might consider this a “Hallmark” holiday, it is still a great excuse to decorate with some fun hand-made items. This tutorial can be adapted to do on a sewing machine. You can fill the hearts with fiber (purchased at a fabric or craft shop). The heart can be made as a one-off that can be hung from a door or a hook, or you could make many of them and create a banner of hearts.
Ok, let’s get started!
Level: Easy (Beginner to sewing and kid-friendly)
Materials: (for one hanging heart)
- Fabric for the front and back of your heart (a fat quarter or left over fabric works great here). You can mix and match your fabric too! Fabric suggestions: quilting cotton, felt
- 10” Ribbon to hang the heart with
- Sewing needle and thread (could use embroidery floss for decorative effect)
- Pinking shears
- Fiber stuffing
- Heart template provided, or one that you have created yourself
- Fabric pen (one that disappears with heat is good)

Steps:
1. Press your fabric. Using the template, trace the heart on to one piece of folded fabric or two pieces of fabric layered on top of each other. Using pinking shears cut out two heart shapes. This will allow you to stitch around the inside edge of the right side of the fabric and not have your fabric fray.
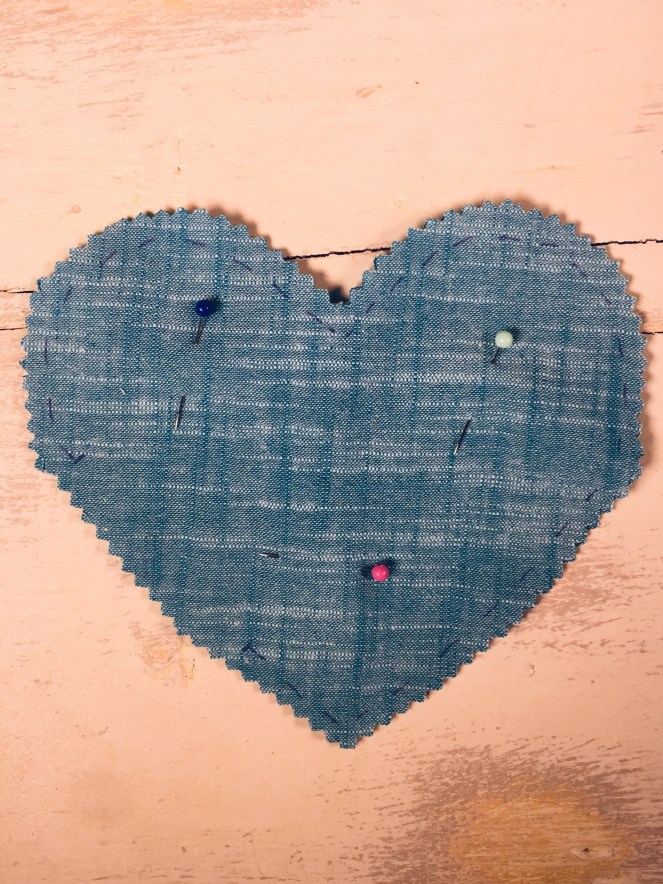
2. Begin by placing the two heart shapes wrong sides together (WST) and pin them in place.
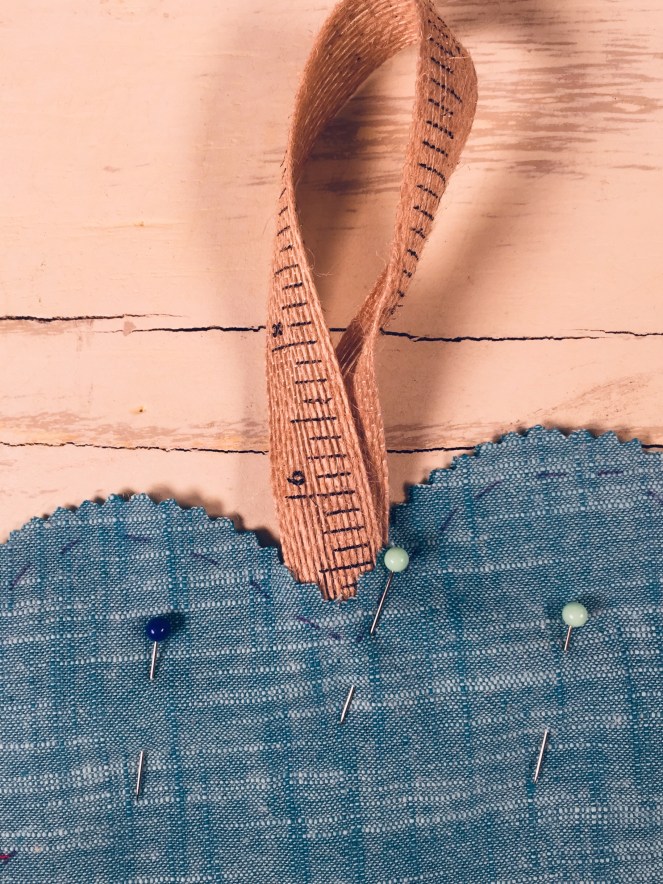
3. Take your ribbon and fold it in half and tuck around 1” of both raw ends into the top and centre of your heart in between the two pieces of fabric so that the ends are hidden. Pin or stitch them in place.
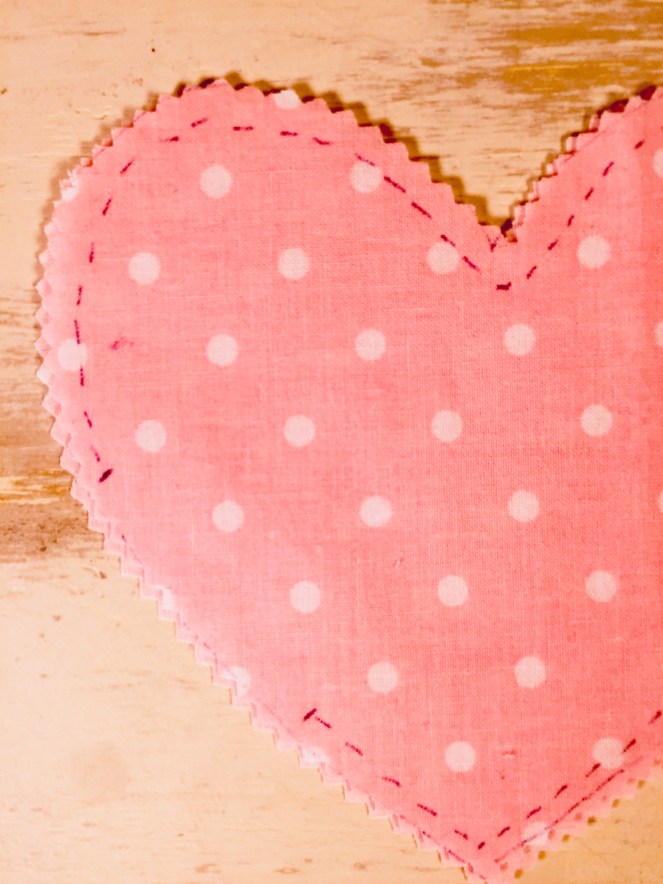
4. Using a fabric pen add a dotted line around the outside edge of one heart about ¼” from the outside edge. This will give you a guide line while you are making your stitches.
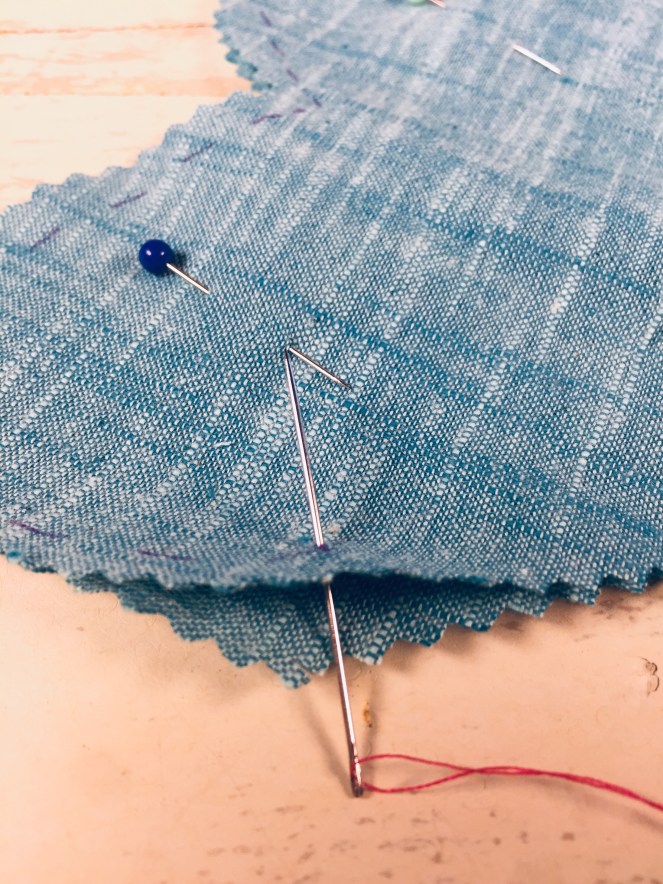
5. Next, thread your needle with your thread and tie off a knot at the end. It is a good idea to have enough thread on your needle to make it all the way around your heart so you don’t need to tie off and start again. You will be using a basic running stitch here. All this means is that you with either knot your thread or back stitch a few times to lock your first stitch in place. Do this between the two pieces of fabric (this will enable you to trim your thread but not have it visible on the exterior of the heart). Make sure the thread is secure with the knot, but do not pull through too much or it will come all the way through your piece of fabric. For Kiddos: If you are new to this, have an adult help you with this part. Bring your needle through the fabric from the back (wrong side), in this case from between the two pieces of fabric. Make a stitch to the left or the right, this time going through both layers of fabric. Bring the thread back up to the top of the heart and then repeat in evenly spaced stitches (or as close as you can).
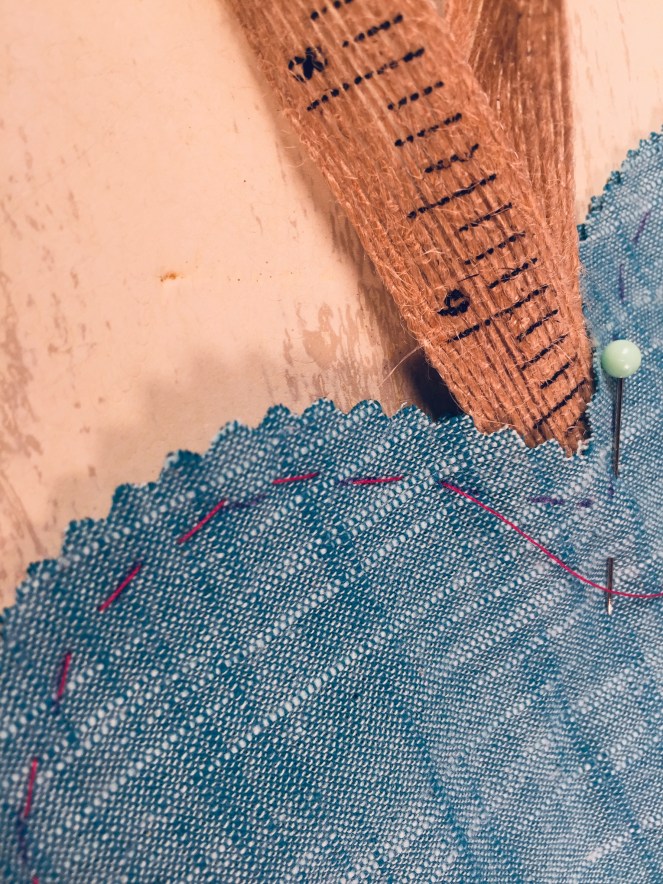
6. You want your stitches to be decorative, so as you stitch try to stay at around a ¼” from the outside edge and keep your stitches as neat and evenly spaced as possible. Make sure to secure your ribbon well with these stitches. Also, ensure that you leave about a 2” opening for your stuffing to go into. It is easier to have this on one of the sides rather than at the top rounded bit or at the point. Start your stitches at one end of the 2” opening and end at the other. Be careful not to pull your stitches too tight as you want your fabric to lay flat rather than bubble. Don’t forget to start and stop leaving a 2” opening.
7. Once you get to the part where you want to leave your opening, leave your needle and thread intact (you will just continue to sew up the hole once your heart is full). Take your pins out and begin to stuff your heart with your fiber fill.
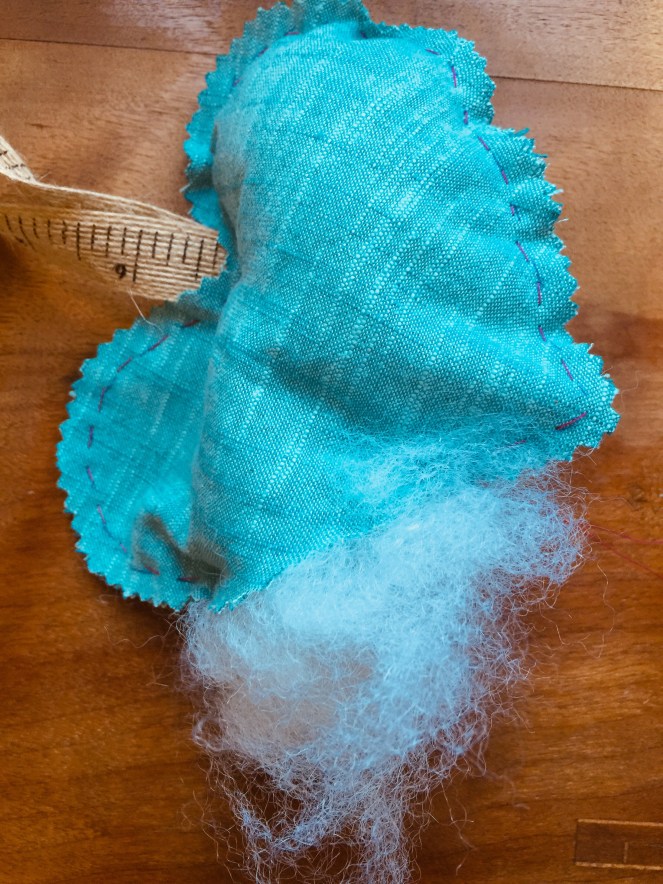
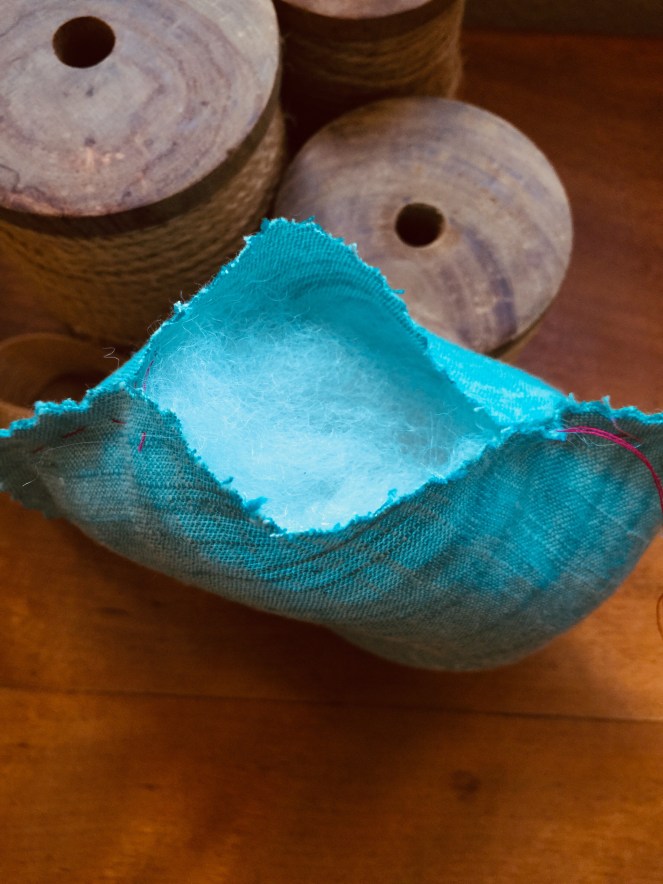
8. When you are happy with the amount of poofiness, continue to sew up your heart. You will need to pinch around the edge of the heart and perhaps push your fill in a bit so it is out of the way. This will make stitching it up much easier. Secure your final stitch by doing a few back stitches over the stitch lines you already have and tie off your stitch in between the two pieces of fabric. Trim the thread tails.


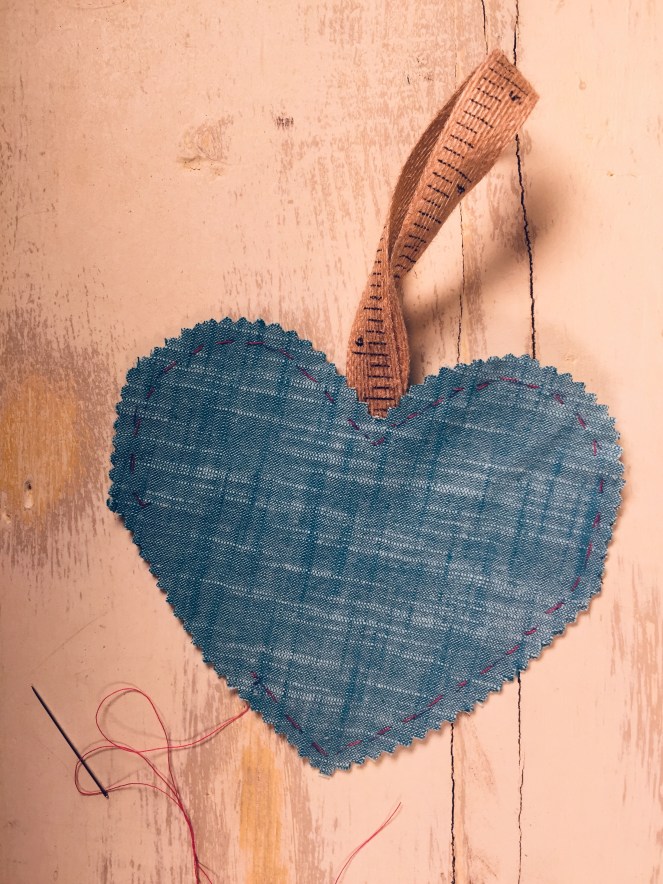
9. Using an iron (Kiddos, have an adult do this part), gently go around the edges where you used the fabric pen to remove the lines.
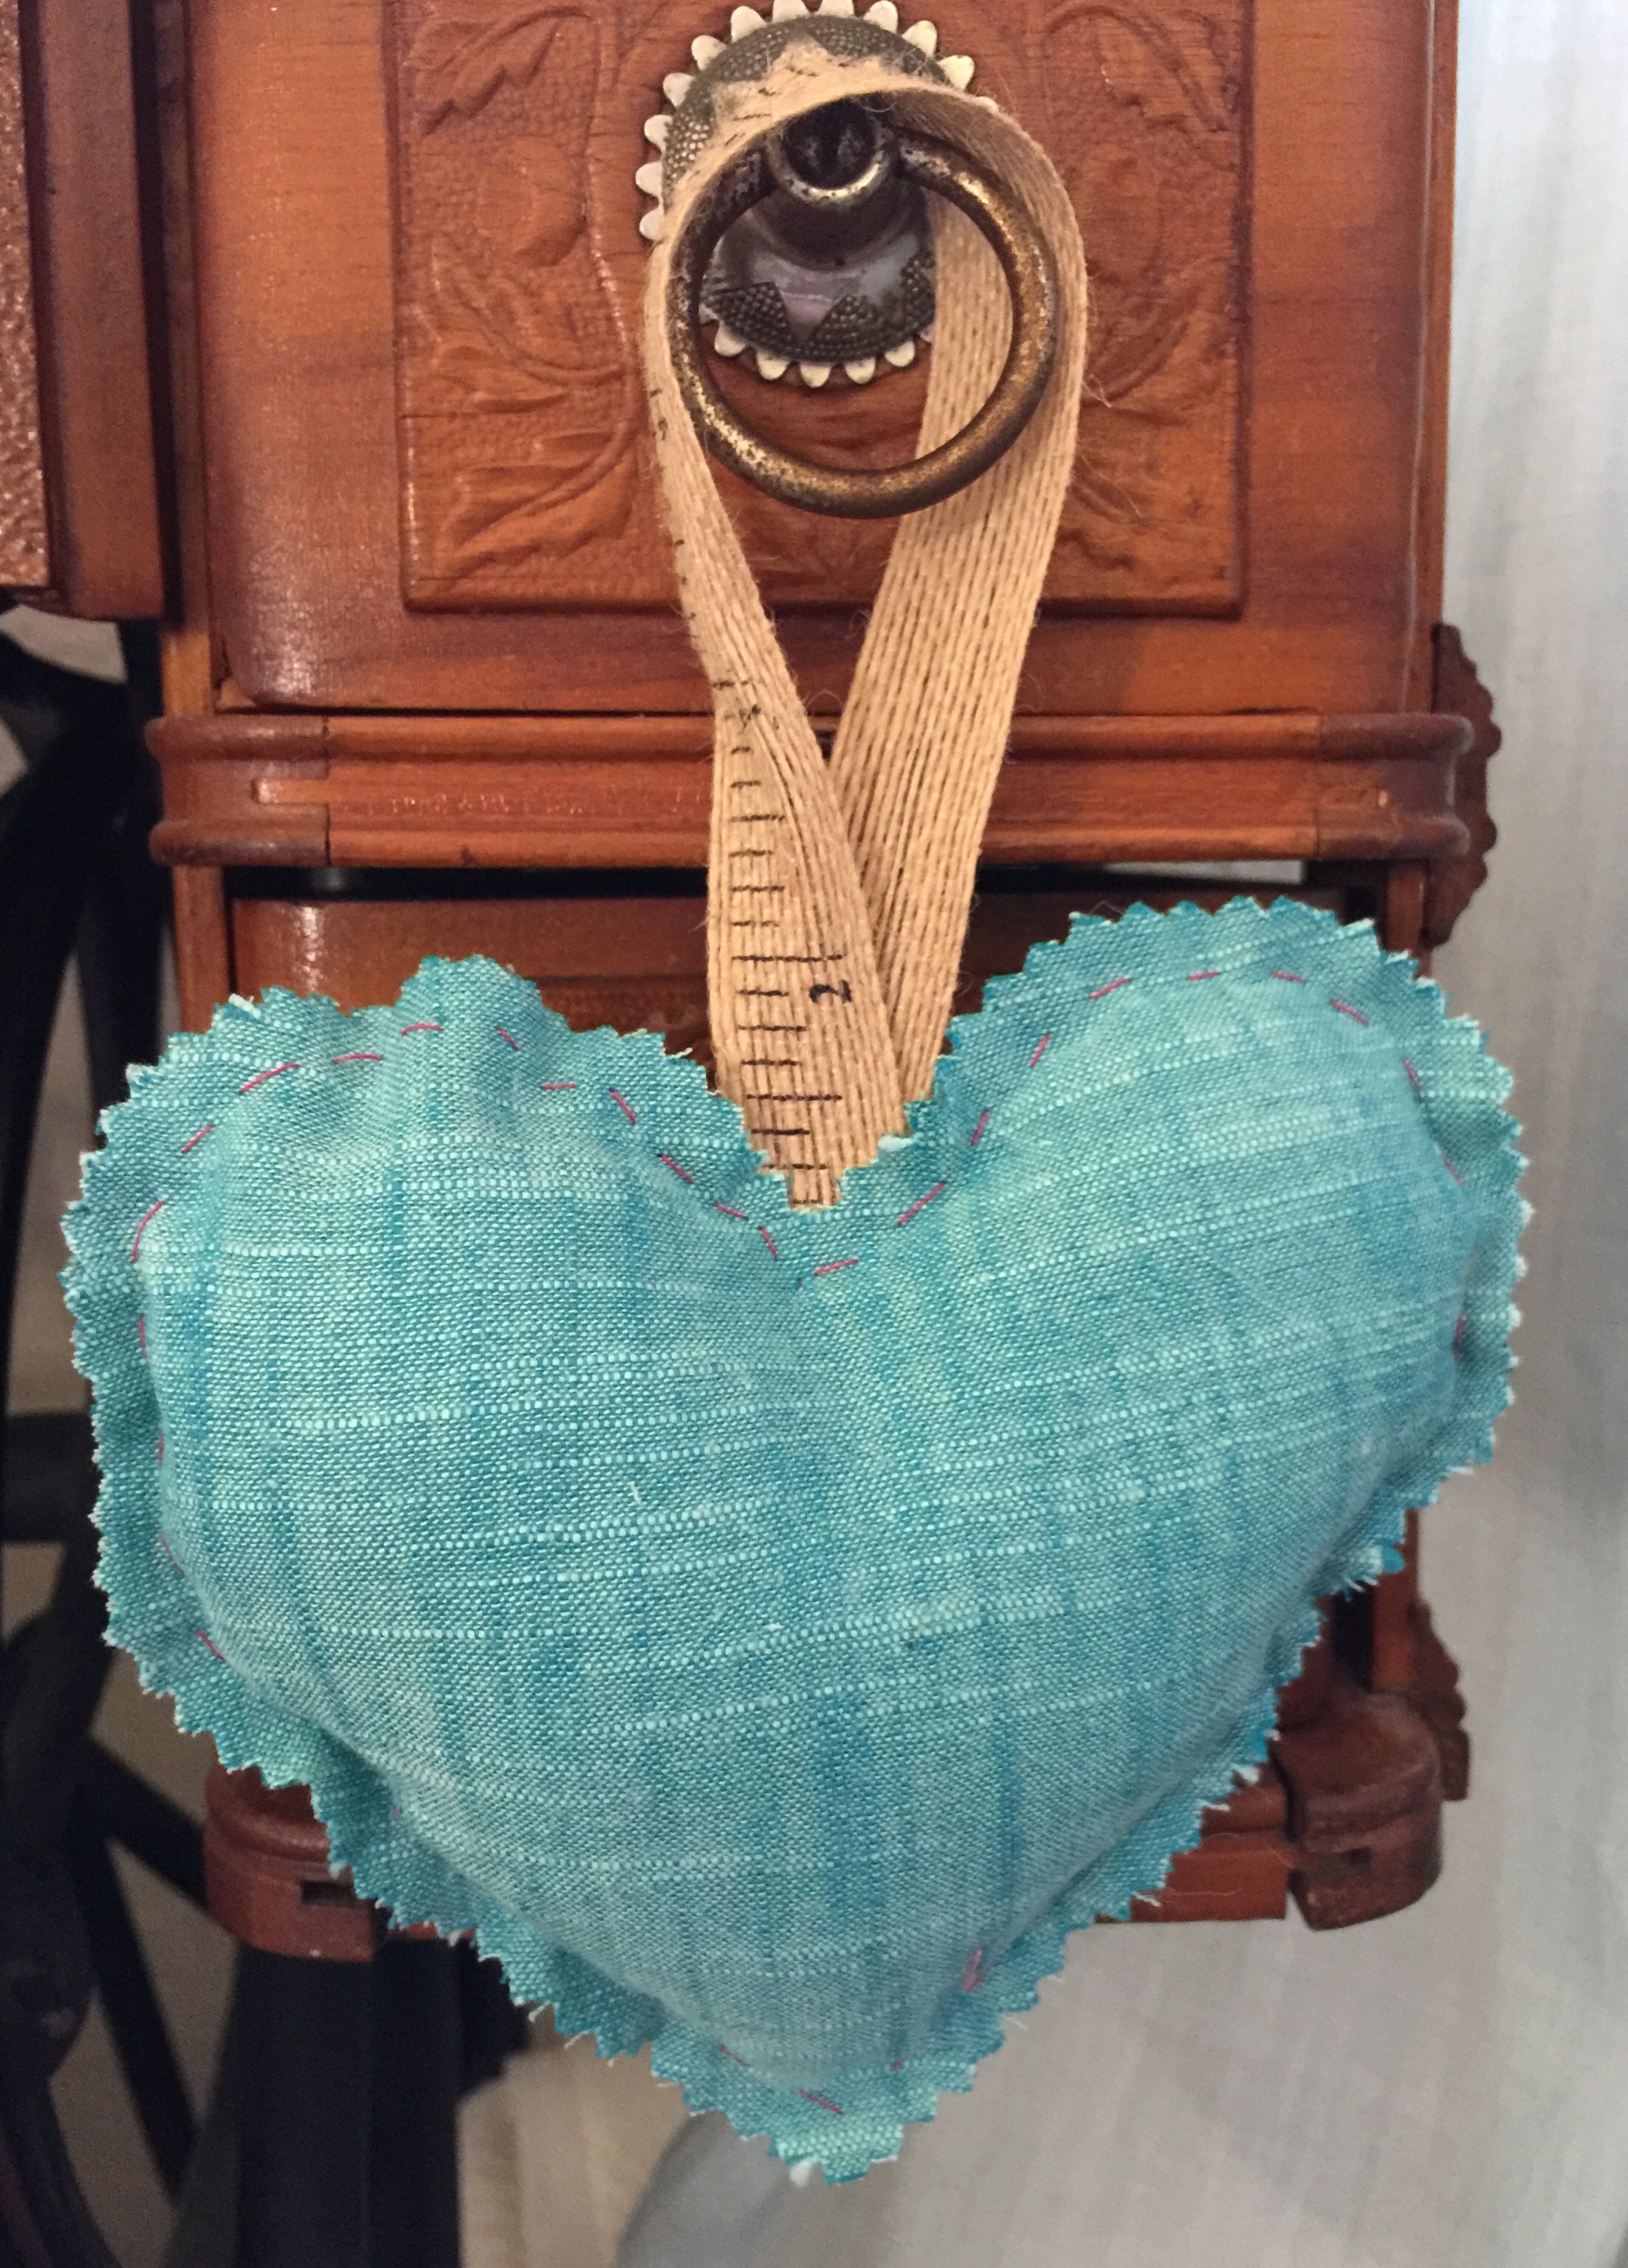
Hang up your beautiful Valentines heart on your door or your bed post or wherever you feel needs a little love!
Alternative options:
- Don’t want to have the edges exposed? No problem, just sew with the right sides together (RST). Then when you get to your opening, turn the heart right side out, add your stuffing and sew small stitches to close up the opening.
- This is totally doable with a sewing machine too – either with the edges exposed or with them tucked in. Use quilting cotton rather then felt for this option.
- Want to fill with lavender? This is best done with a machine and with a small stitch (2.0mm), or place the lavender in a cheese cloth pouch or natural fiber bag first. You can also add stuffing to make it softer or use stuffing with a few drops of lavender essential oil.
- This project could also be cute as a tooth fairy tooth pillow. You would need to sew a little pocket on the front for the tooth to be tucked into.
- Don’t want to sew? A glue gun could be used here too!
