
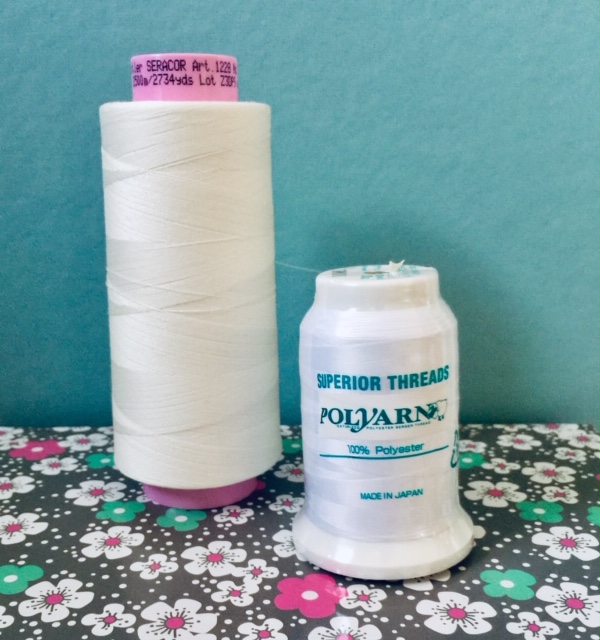
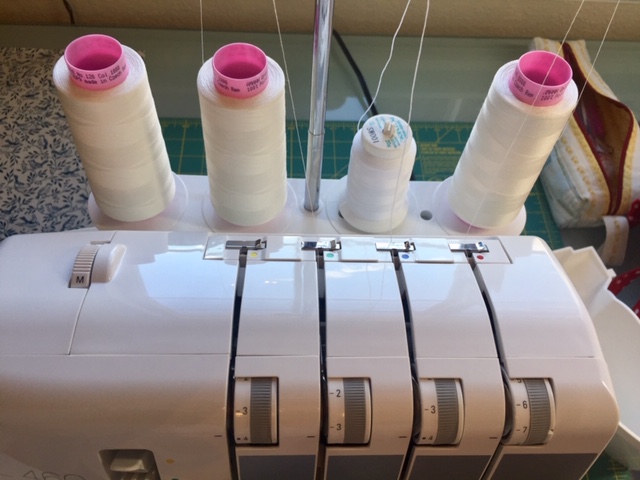
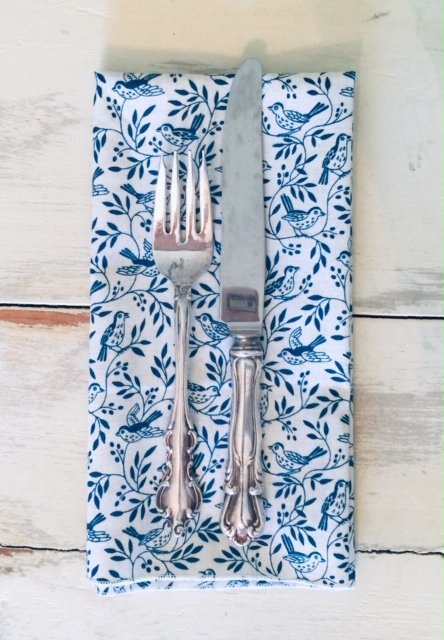
I must have been a very good girl this year, because my wonderful husband bought me a serger for Christmas! I have never before owned or used one, so this is a new experience for me. I went to the beginner class at my local Bernina store, and now I am ready to test this lovely machine out on a simple project. I am using the Bernina L460 and the fabric I am using is Heartwood Songbird by Makower UK (100% cotton). I am going pretty basic here, as I am new to this whole serger thing, so I am just using 2 spools of eggshell serger thread and then on my upper stitch bobbin I am going to try out a Polyarn (a stretchy polyester that will stretch a bit and fill in the stitch nicely – according to my Bernina store).
Level: Beginner serger
What you will need:
- 1 yard of cotton or linen (this will make 4 – 18×18” fabric napkins). If you wish to go bigger or have more than 4, you will need to increase your amount of fabric. For 6 of this size 1 ½ yards should do the trick. Ideally, you want a fabric that looks either the same on both front and back, or that looks nice both sides. The one I am working with only really looks cute on the one side, but I loved it, so I was willing to be ok with one side not looking as nice.
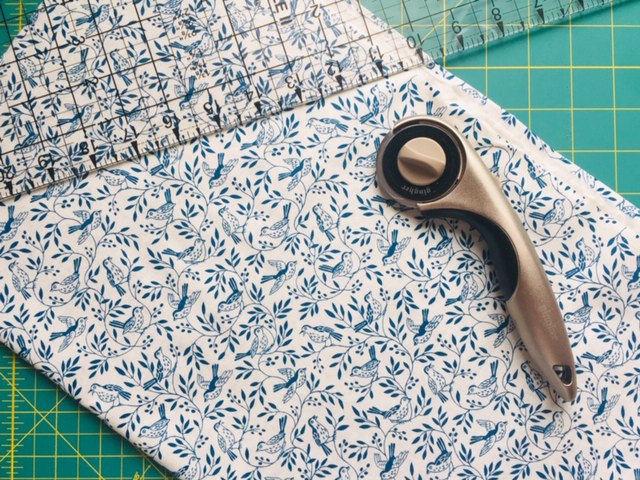
- Rotary cutter, cuttingmat, scissors, long fabric ruler for cutting, and of course your serger
- 3-thread count for your serger – you can use all neutral threads like I am today, or you can incorporate a contrast with your upper thread.
- Fray Check or something similar to apply where you end your stitch to ensure it doesn’t unravel after multiple washes.
Steps:
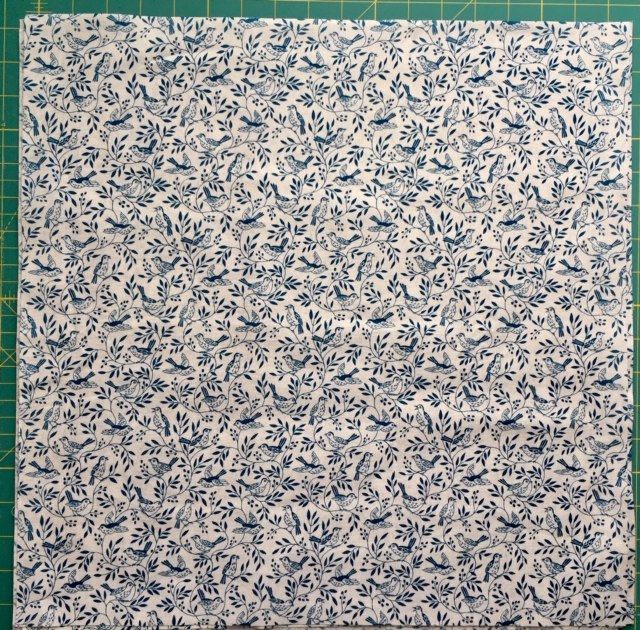
1. Press your fabric and cut out 4 – 18×18” squares (or larger if you want, but you will need more then 1 yard). I used a rotary cutter with ruler on my mat. You could use scissors here, but the rotary is just a fast and easy way of getting a nice clean cut.
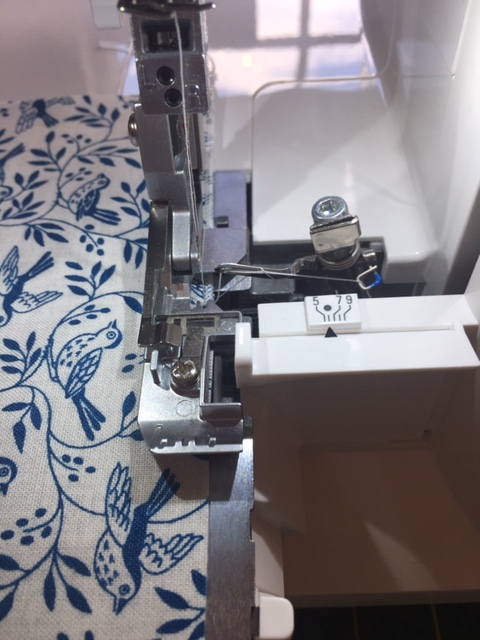
2. Set up your serger with your 3-threads and set it up to do a 3-thread rolled hem. On the L460 you would follow the setting for number 8 on your quick guide.
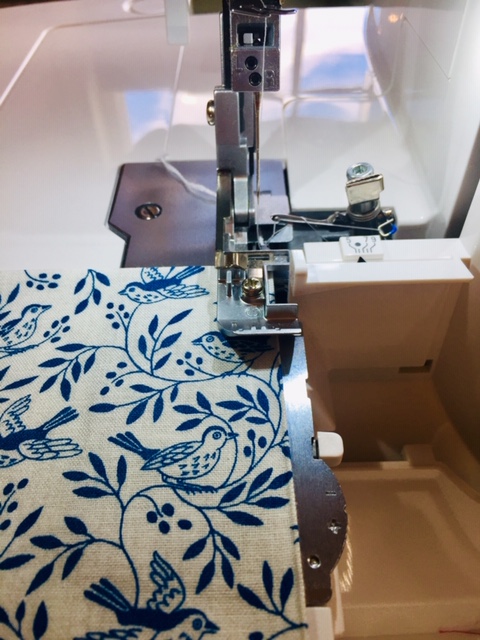
3. Because I didn’t feel the need to cut the fabric with the machine, I disengaged the knife and lined up the fabric with the first guide line so that it would still turn and stitch my fabric.
4. Get a scrap piece of fabric and try your stitch out a few times to see how you feel and to make sure it is working the way you want it to.
5. Stitch up the first side of your napkin (if you are using the Polyarn in your upper loop, make sure that you have the front side of your napkin facing up).
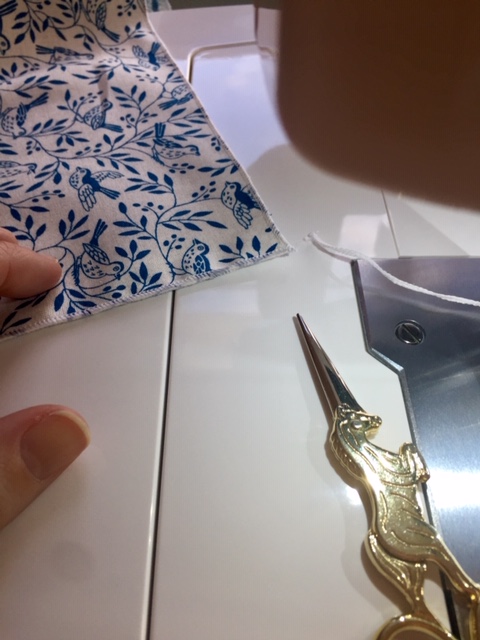
6. For the second side, have your stitch run to the first side you stitched. This will help to lock your stitches in place. Do the same for the third side. Then sew up the final side. I trimmed my threads after each side so that it was easier to start and stop the next consecutive side.
7. Because we don’t have a way of locking serger stitches completely, it is recommended that you use some type of fabric fray retarder on the four corners where the stitches meet one another. I used Fray Check on mine because it is what I happened to have on hand. Be careful to keep your fabric away from everything else when you apply the Fray Check. Let each napkin dry completely.

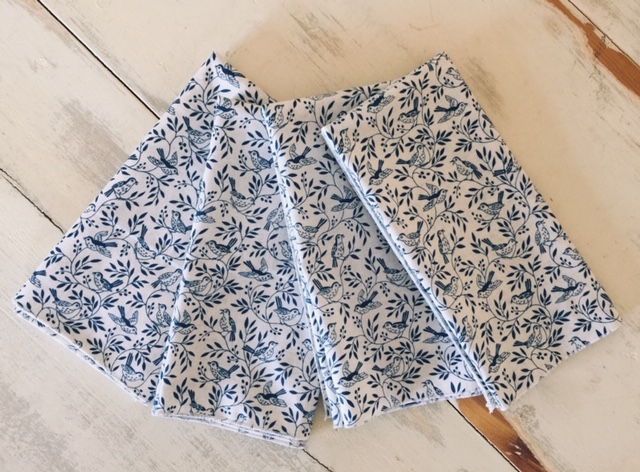
8. Give your napkins a press if they need it and you are ready to set a beautiful table!
Enjoy and Bon appétit!
